Mileage 10,187
Maintenance Summary:
- Installed Show Chrome 13-311 Fuse Block
- Removed fuse-block indicator light wires (not used)
- Replaced Power, Ground and relay control wire with Harbor Freight Trailer Light Wiring (with 4 circuit connector)
- Wired relay control circuit to BMW switched connector (normally used for factory GPS)
BMW Part number 83 30 0 413 585 - Installed SAE connector at handlebars
- Installed connector for heated clothing near seat lock.
I wanted a switched SAE outlet near the handlebars, into which I could plug a USB adapter to power my phone. I needed a switched circuit so that the USB adapter wouldn’t drain the battery when the bike wasn’t running. To that end I needed a relay and some fuses.
There’s an empty space behind the battery which seemed like a good place to install something, but it’s only 1.25″ thick. I was going to build a custom fuse block to fit in that space when I ran across this Show Chrome fuse block. I just happened to have a specified thickness of 1.25 inches. I found one for $40 on eBay, which is about what it would have cost me to build my own relay activated fuse block. Other brand fuse blocks were both more expensive, and much thicker.
Well, the fuse-block didn’t fit in the space behind the battery, but it was thin enough to fit under the seat on top of the fuel pump. This location has the advantage that the fuses are easy to get to.
 Designed to hook up trailer lights, this fuse block had way more functionality than I needed. All I needed was a relay to support higher current devices than would be possible to operate from the factory GPS connector. This product provides three switched circuits. As I wanted the ability to easily remove the fuse block from the bike I needed to install a connector.
Here’s the fuse block before modification. The wires on the right aren’t needed and the in-line fuse on the larger red wire won’t work well because it’s too far away from the battery to protect the wiring. The large relay switches power, the small relays for for indicator lights and won’t be used. The unit is well made; I like the fact that they remembered to put a diode across the relay coil to prevent voltage spikes when the coil’s magnetic field collapses.
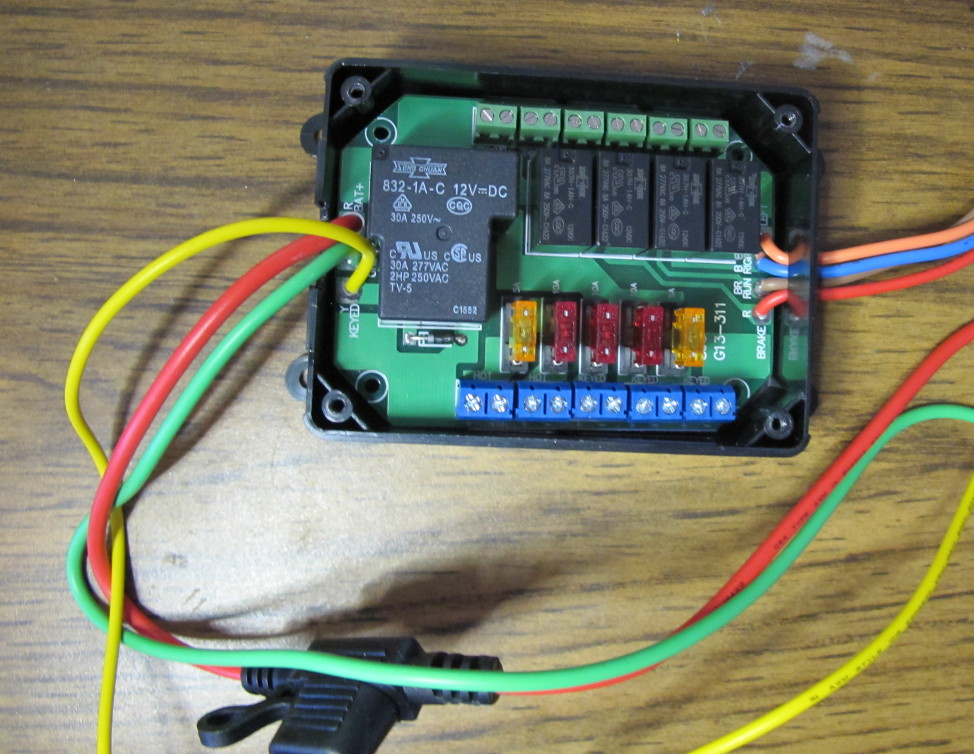 I removed all of the wires and replaced the three wires on the left with a 5′ trailer wiring harness from Harbor Freight (cost less than $7). Here’s the modified fuse block. The green fourth wire is the switched power that will connect to an SAE plug. The yellow wire controls the relay. That’s connected to wire #3 on the BMW connector. I used white for ground and brown for power — it was the closest thing to red.
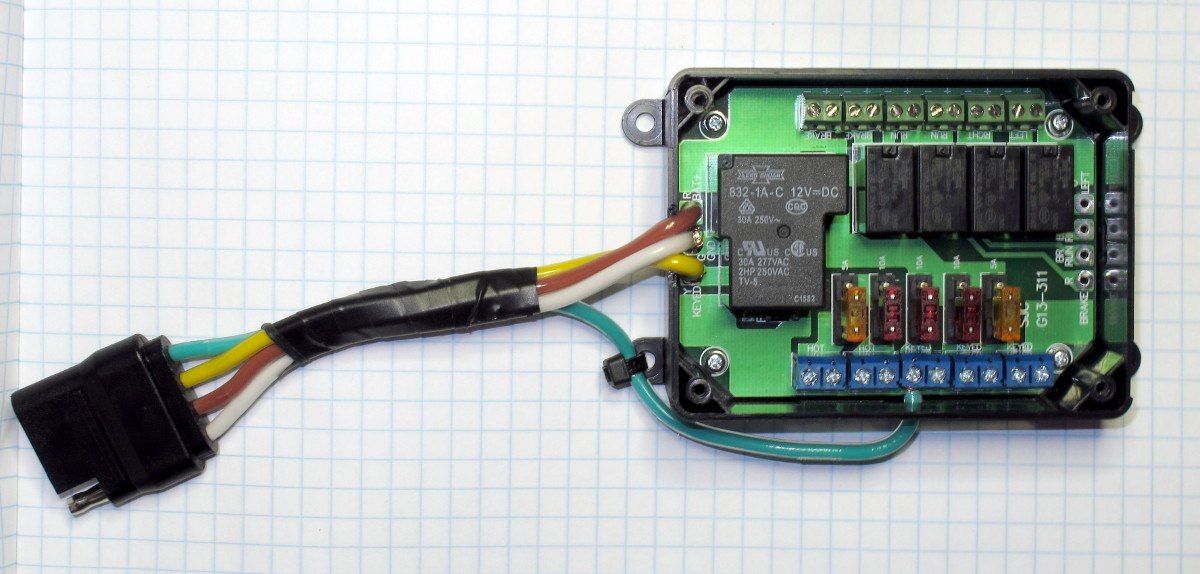 Here’s the harness ready for installation. I’ve included an extra circuit for future use (blue wire). The 5 foot harness ended up being about 6 inches longer than I needed. The harness uses 14 gauge wires.
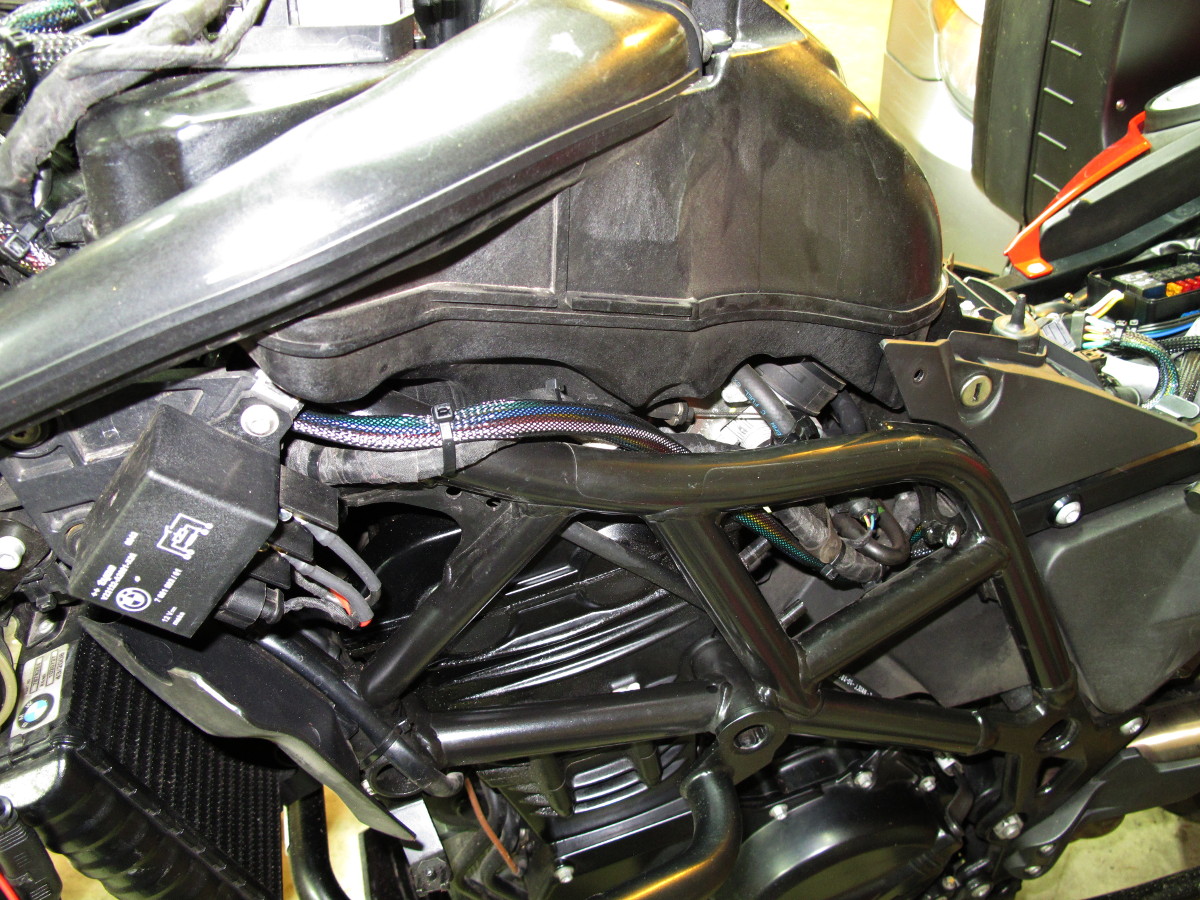
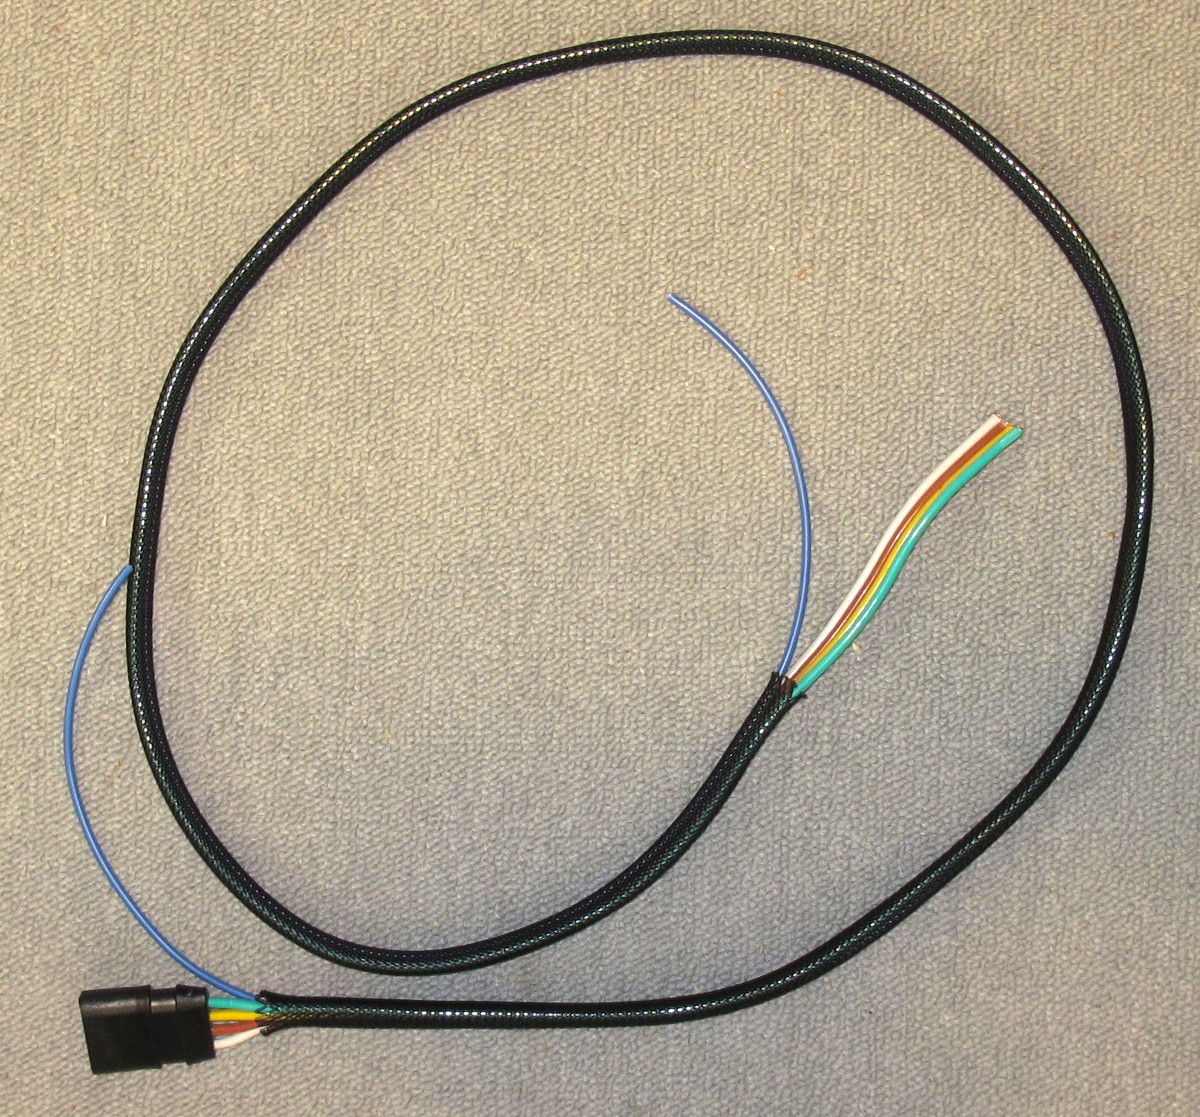 The new harness follows the same path as the factory harness. I was surprised that the colored wires were so easy to see in the picture, probably because of the flash. They normally look more like the picture above.
 The harness terminates at the battery. After trimming of the excess length I soldered on a ground cable and a positive cable with an in-line fuse. Only one of the three yellow wires is used. I just tucked the two unused wires into the cable loom. The blue wire is the spare circuit. The green wire connects to an SAE cable. The ground for that cable goes directly to the battery which is why there’s one more wire on the negative terminal. The other wires are for another, un-switched SAE circuit for use with a battery tender.
 The #3 wire on the BMW plug switches on with the key and switches off about 30 seconds after the bike is switched off. As you can see from the thin wires, this CANBUS outlet isn’t designed to source much power. It does have enough power to operate the fuse-block relay. The BMW repair cable set me back $22. Ouch! I bought this one on Amazon
The yellow wires hang over the empty space where I had hoped to install the fuse block. It just wouldn’t fit. Just as well, it probably would have rattled around in there anyway.
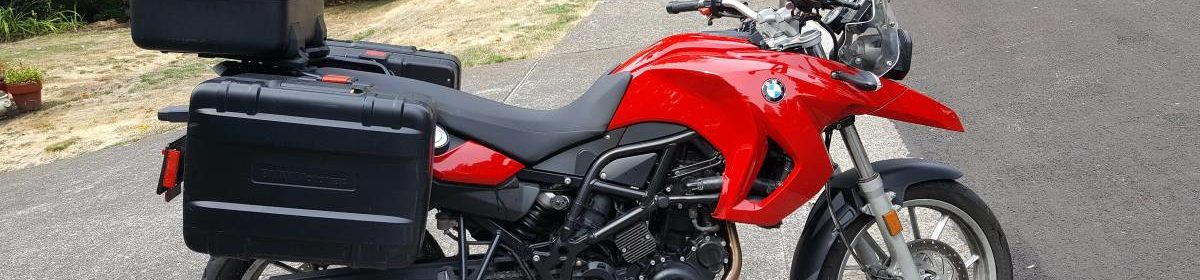
The only part of the job that I’m not happy with is the heated clothing connector. The very short wire on the clothing left few options. The following works, but I’m going to see if I can come up with something better than tie-wraps. It works, as-is, provided I don’t try to stand up on the pegs. The other end of this connector is the red and black wiring in the first photo.
