After looking at the prices of commercial radiator guards and the designs of DIY guards that I could find on the web I decided to investigate building my own. After researching, and not really liking my options using expanded metals, soffit grills, and woven wire mesh, I had moment of inspiration. What if I could modify the wire grid material from a kitchen cooling rack? Well, fate shined on me when I discovered this $13 cooling rack. It’s almost the perfect size for covering the radiator, and it’s made of 304 stainless!
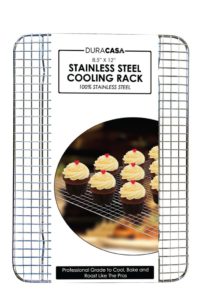
The only modification required for this rack was to remove the two wires that form the feet. That was easily done by grinding them off where they were welded to the perimeter wire. The 0.4″ openings are small enough to provide good protection from rocks and other road hazards while still providing good air flow to the cooling system. The rack appears to very well made. Duracasa also sells other sizes, but besides costing more, I would have had to cut them down to make them fit. If you search for “stainless 304 cooling rack” you’ll find that there are several different sizes and brands, including others that look identical to this Duracasa.
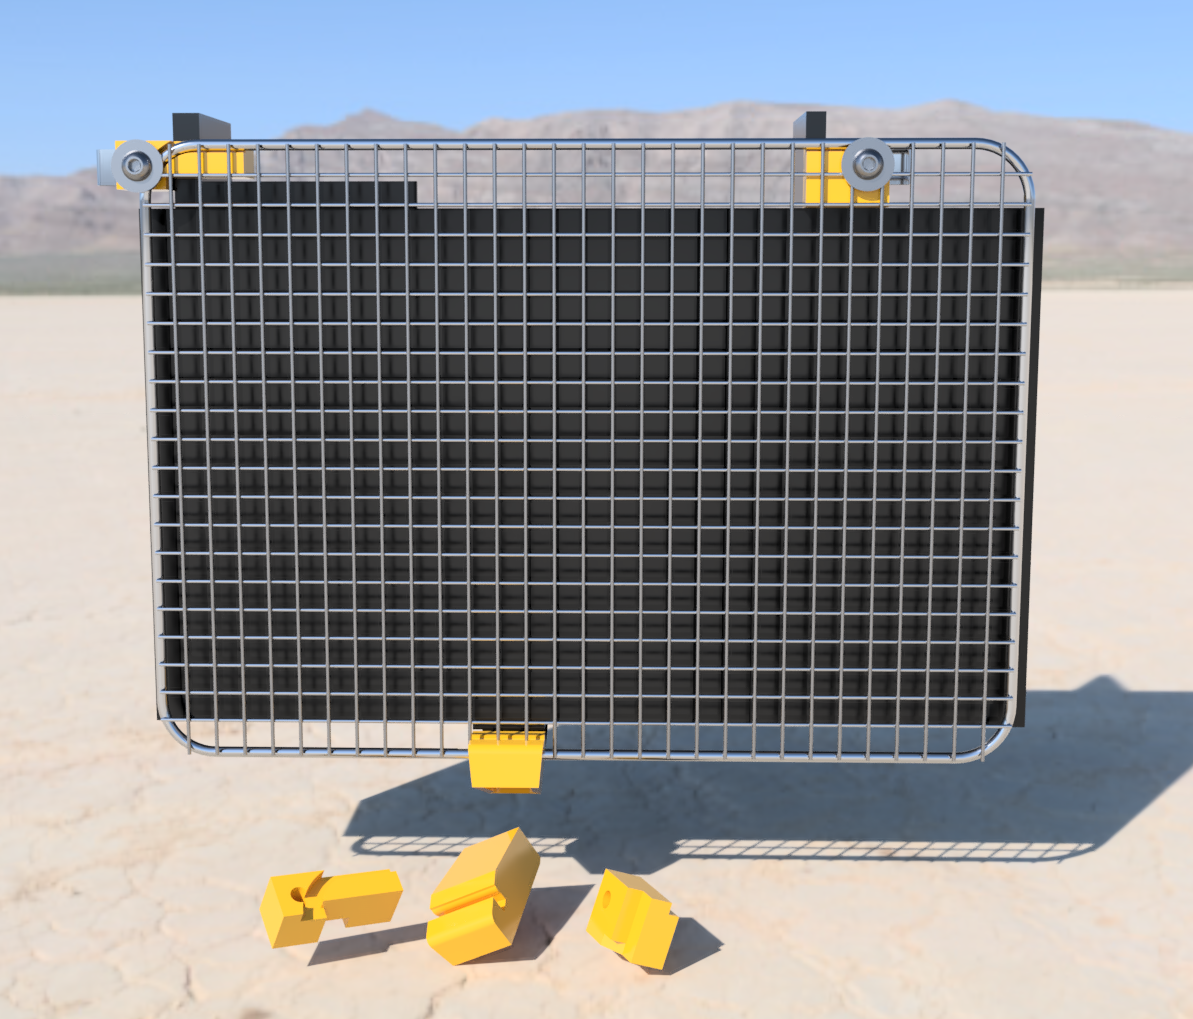
Now, how to mount the thing? It would have been much easier if it had been an inch or two wider, and it would have provided a bit better protection, but it wasn’t. I started by building models of the the rack and radiator so that I could design mounts that I could 3D print. Here’s a rendering of the design. As you can see, the grill almost completely covers the finned portion of the radiator.
 I printed the parts in ABS and installed the guard but then started worrying about the effects of heat, not so much when the bike was running, but after it was shut off. The plastic top mounts were going to get pretty warm as they soaked in the heat rising off of the radiator, and were likely to soften and distort under the compressive pressure of the screws. So, while it’s a pretty clean install, I decided to abandon this approach.
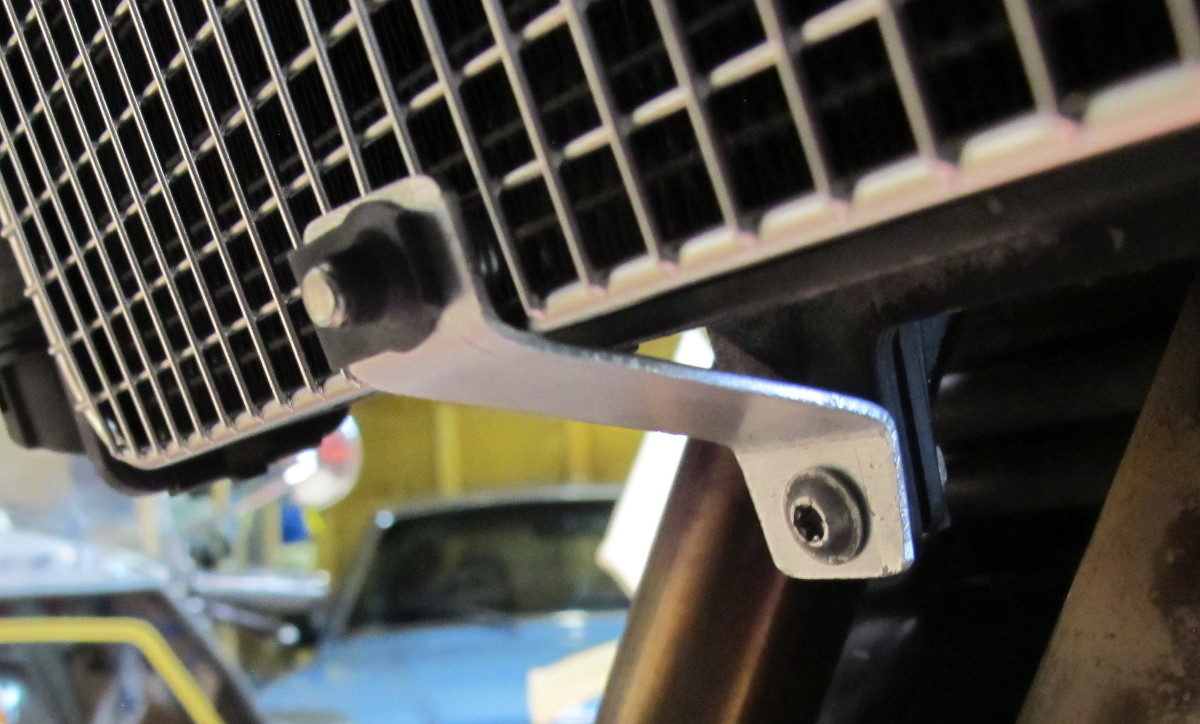
 The second design utilized two aluminum brackets. Here’s the top bracket. It has to be installed first, before the guard, so I used clip bolts on the bracket to allow easier installation of the guard. I used 6mm clips because that’s what I could find, and because the fender washers were the right size for holding the guard rack in place. These are the same size clip bolts I used on the radiator tabs. Those tabs were designed for 5mm parts, but, as I said, I couldn’t find those. I wouldn’t suggest using 1/4″ (6.35mm) hardware, I don’t think the bolts would fit through the radiator tabs — it was tight enough with the 6mm parts. I designed the aluminum mounts to provide about 0.5″ of spacing between the guard and the radiator. I purchased the clips at Ace Hardware, but they’re available as fender, or license plate clips at most auto parts stores.
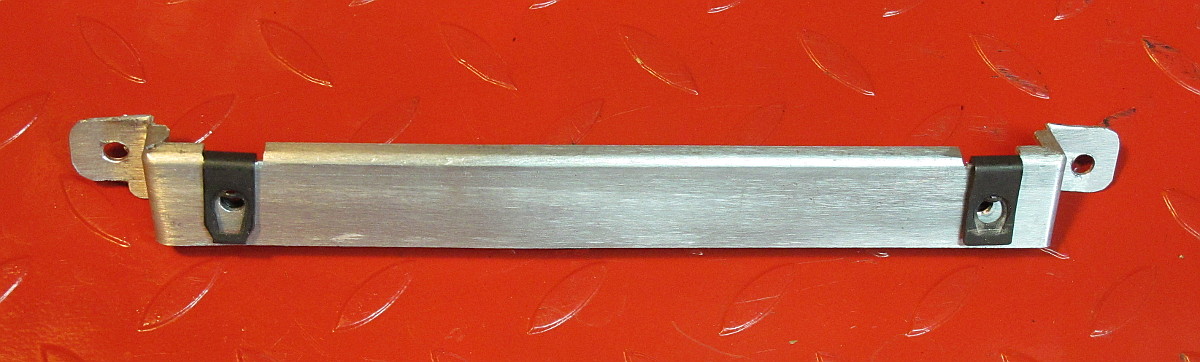
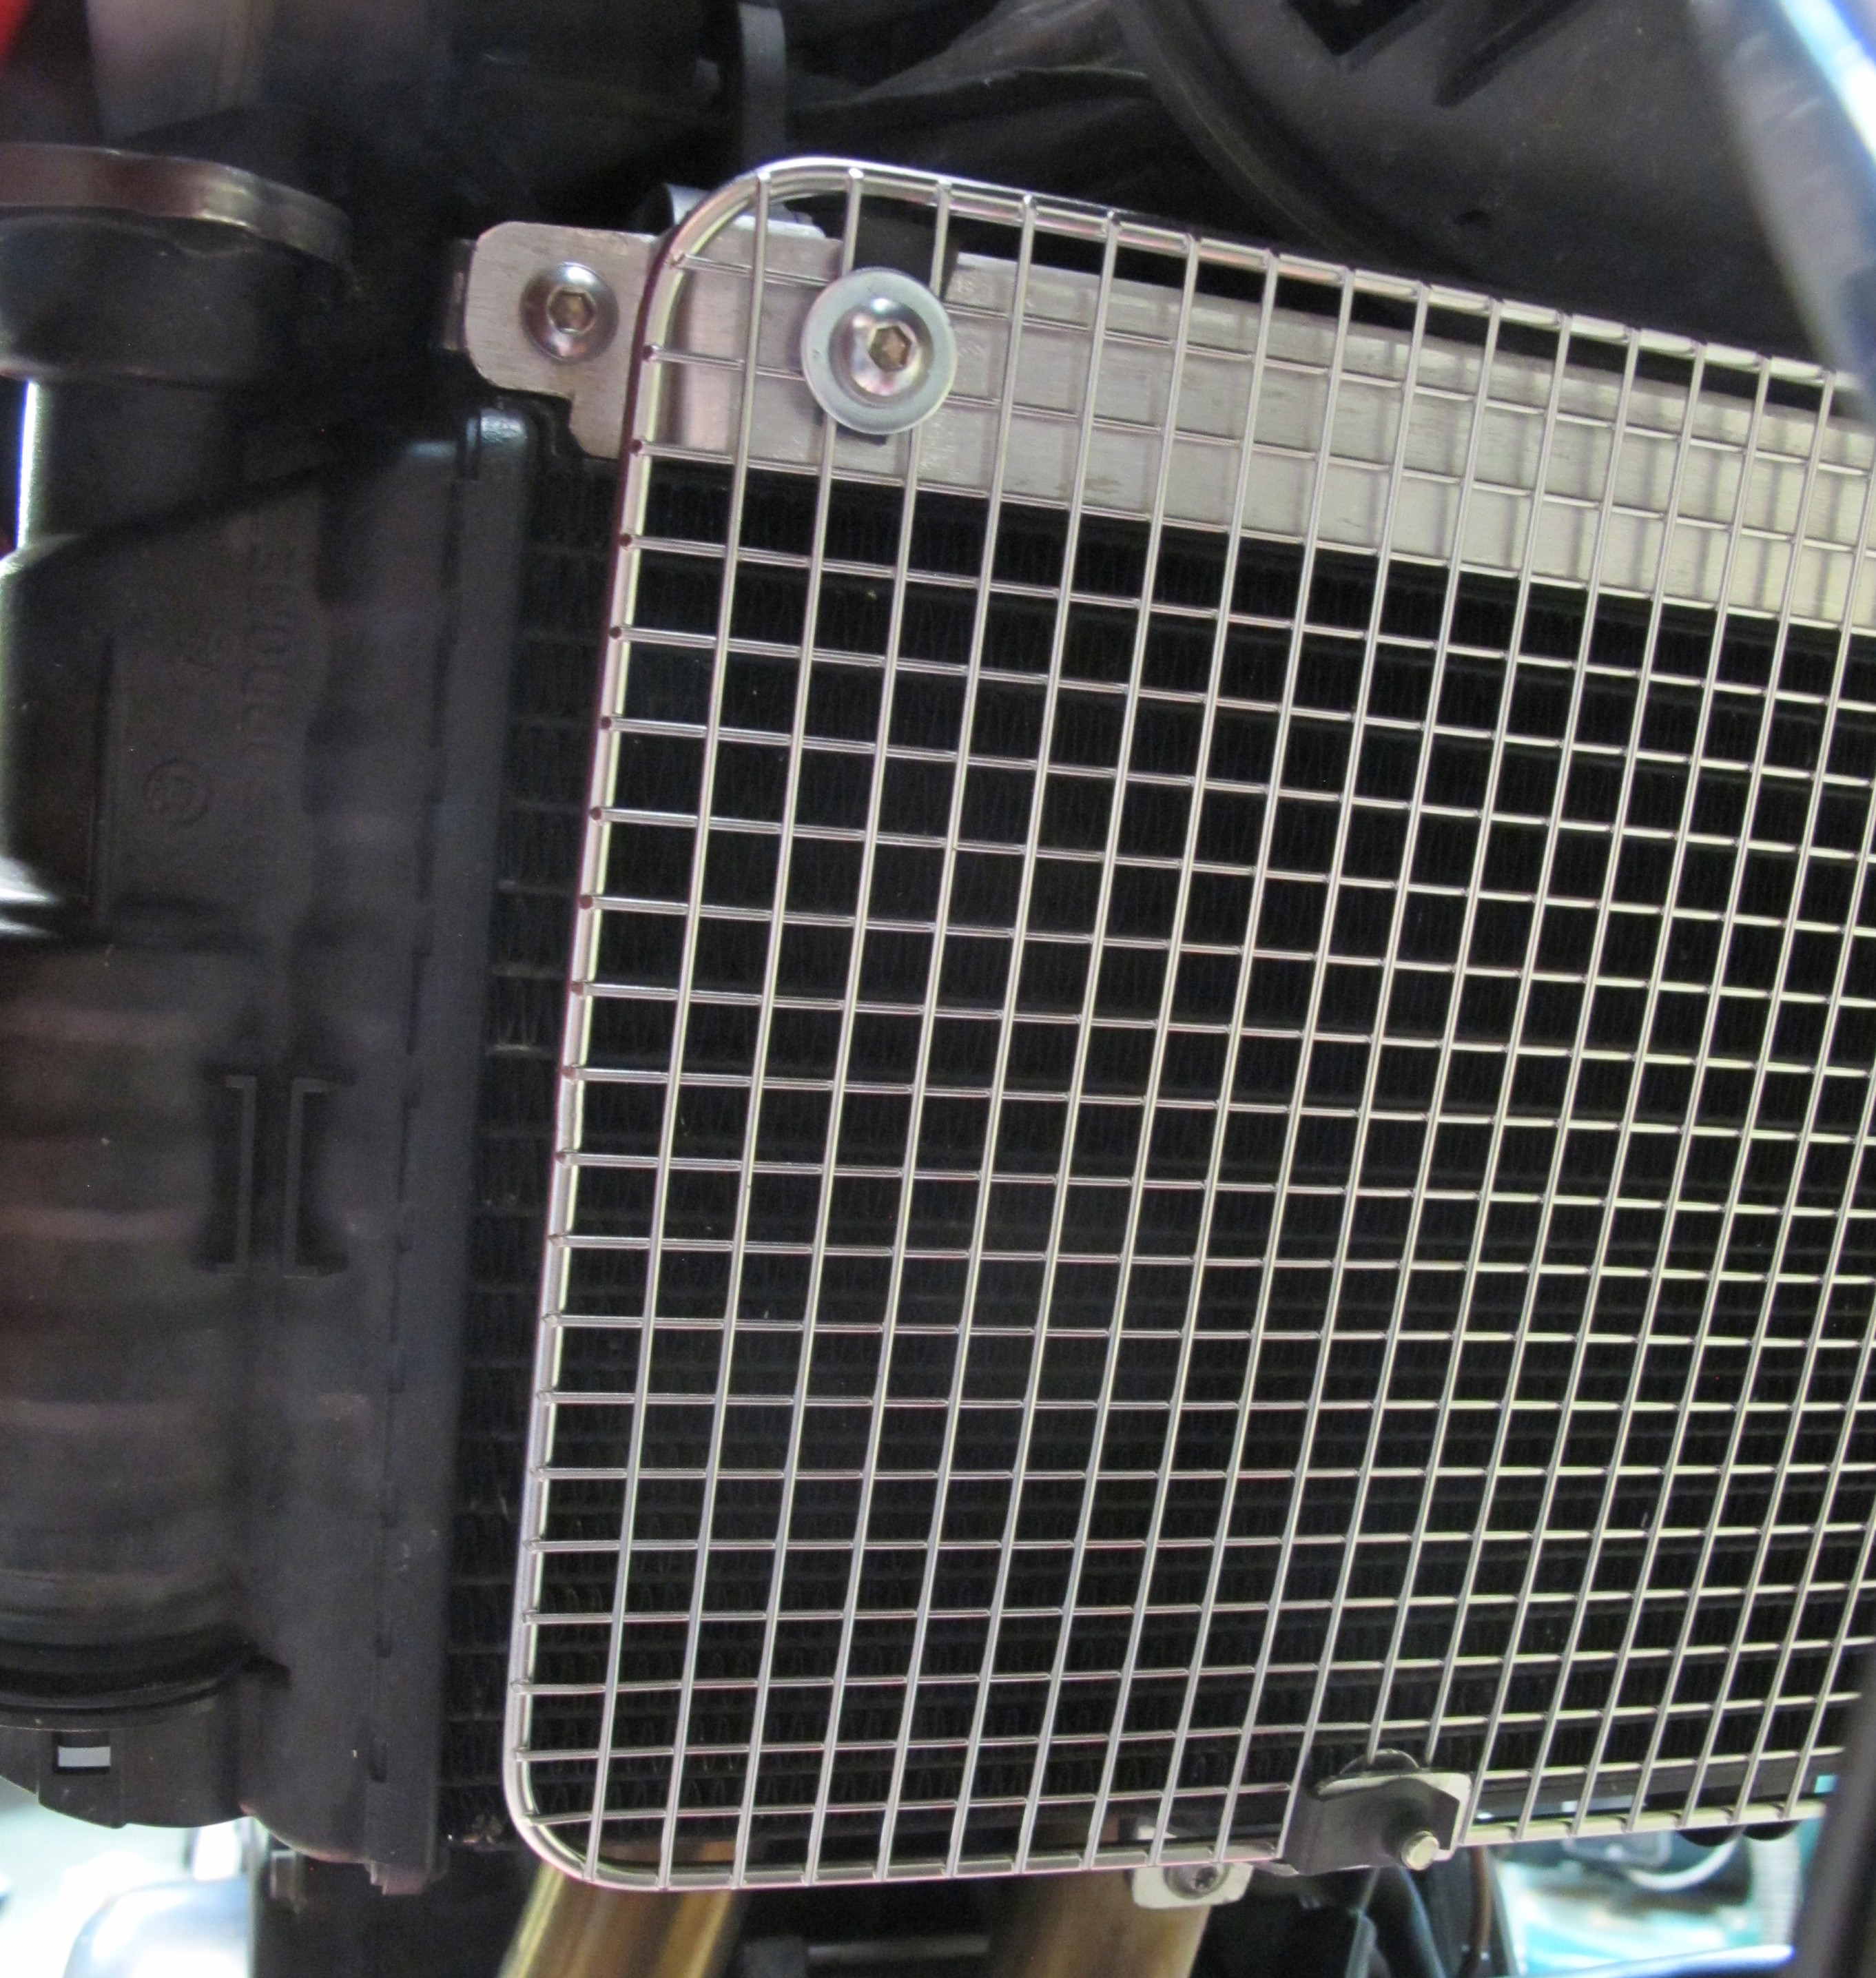
Here’s the bottom bracket. I purposely oriented the rack with the grid facing out, and with the top screw threads facing away from the radiator — for protection. I also ground of one side of the washer (not visible) so that it would sit flush on the back side of the grill against the grid wires, beside and not on the perimeter wire. I did all this to minimize the risk of damage to the radiator if the guard ever got pushed in. While I used a clip bolt here as well, for now, I’m not convinced that’s the best solution. What I’d like is something that is flush on both sides for both protection and appearance, and something that will stand up to the elements; this part is pretty exposed.
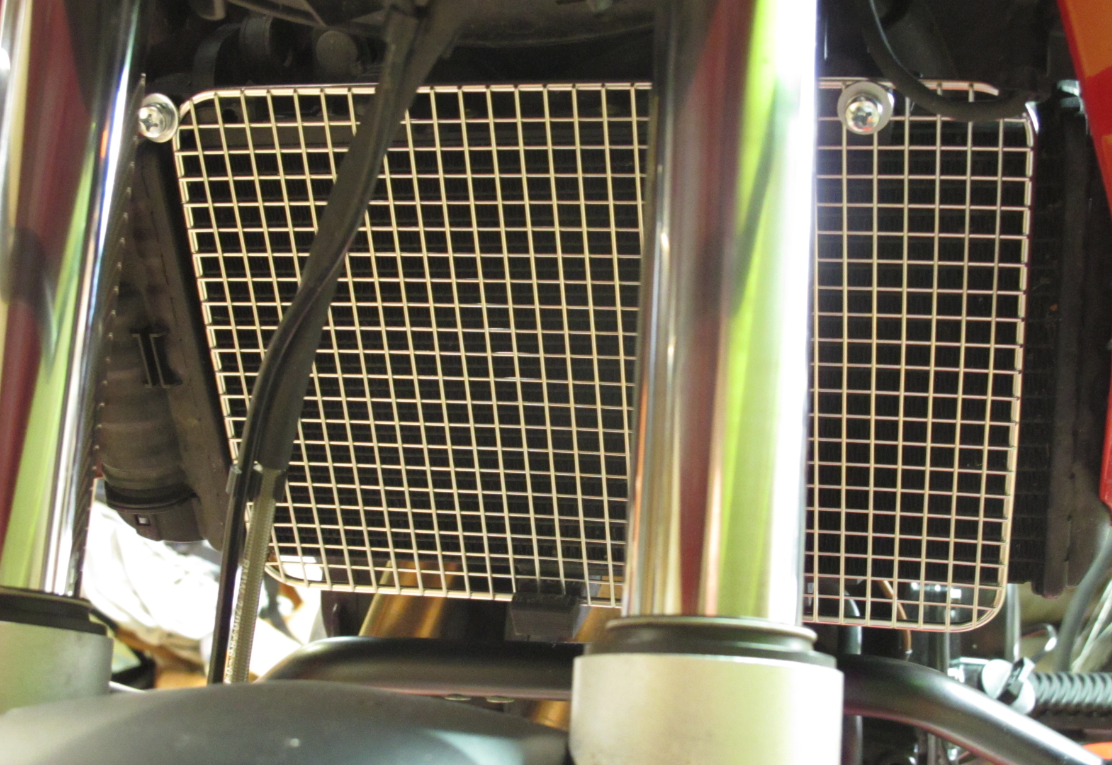
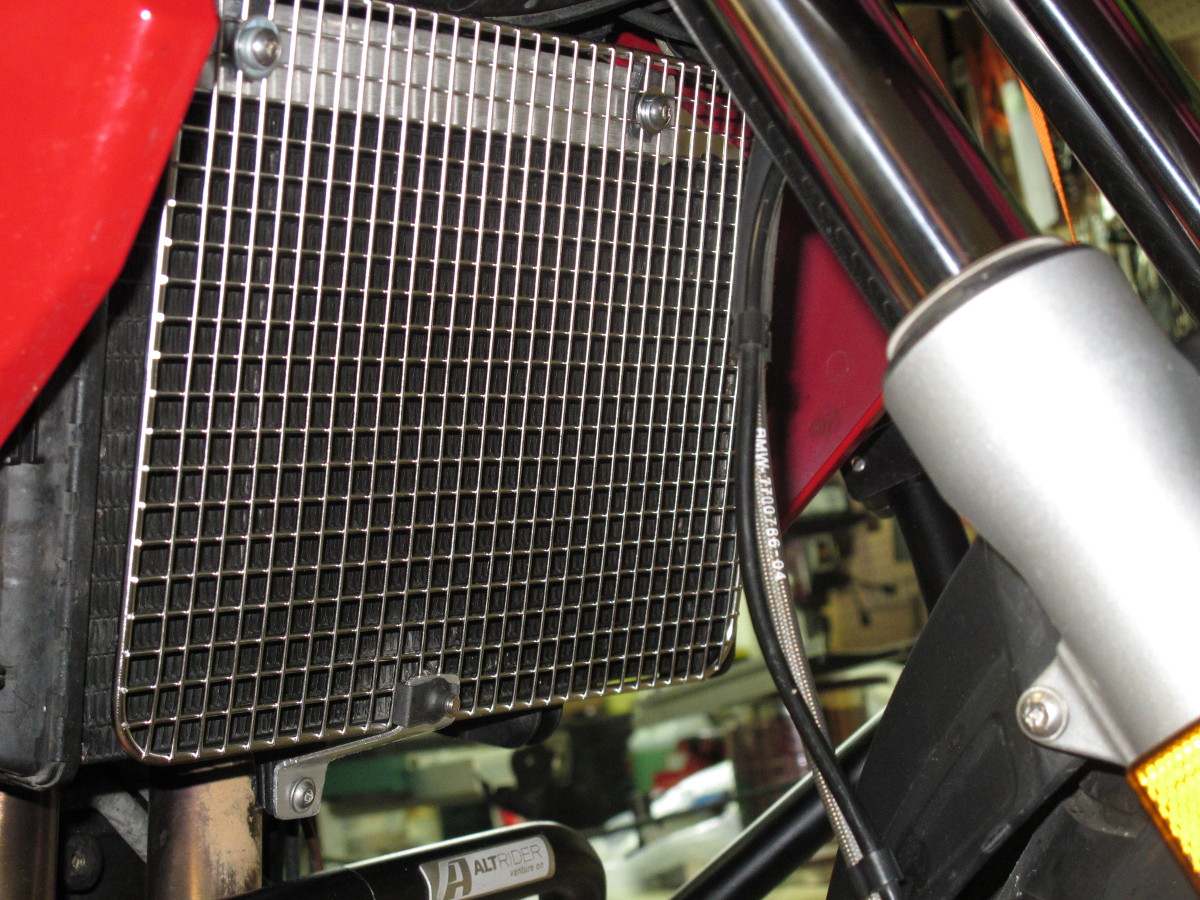
The guard covers most of the radiator with about a 1/2″ gap on either side. The radiator end caps aren’t protected, but they’re much stronger than the fins.
 Here’s another shot. The current plan is to paint everything black — eventually.
OK, so the total project did cost a bit more than $13 when you include the screws, clips and washers, but not much. The aluminum is some I salvaged from scrap hot-tub electrical panel. It was constructed using a much better alloy than is used in the overpriced stuff you can buy in the big-box hardware stores.
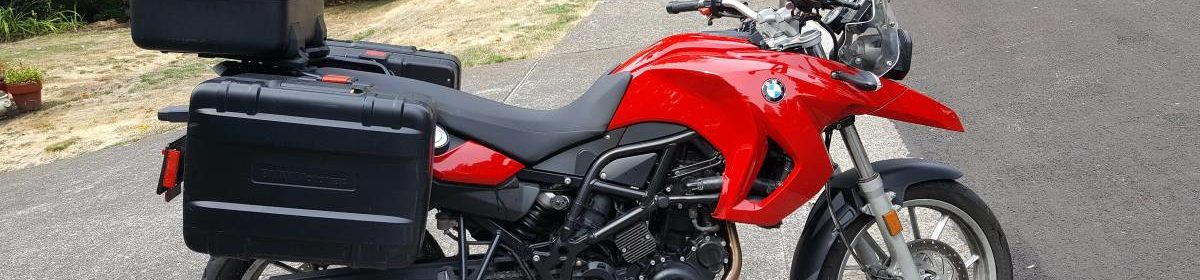
As this same radiator is used on other BMW motorcycles, such as the F800GS, this design should work for those bikes as well as all of the mounting points are on the radiator.
Upon seeing my design a friend joked that I could still use the guard as a grill while camping. He might be on to something. Remove four screws, clean off the bugs, assuming you don’t want the extra protein, and grill away. If I remake the lower mount out of stainless I could leave it attached for use as a grill handle. Perhaps I shouldn’t paint it!
I hope you’ll leave a comment if you found this info useful, or if you have any suggestions on how the design can be improved.
Update: 6/20/18: I’ve painted the guard and mounts black. You can hardly see it now.
